
Your Kitchen Remodel Isn’t Done Until You’ve Tested These Details
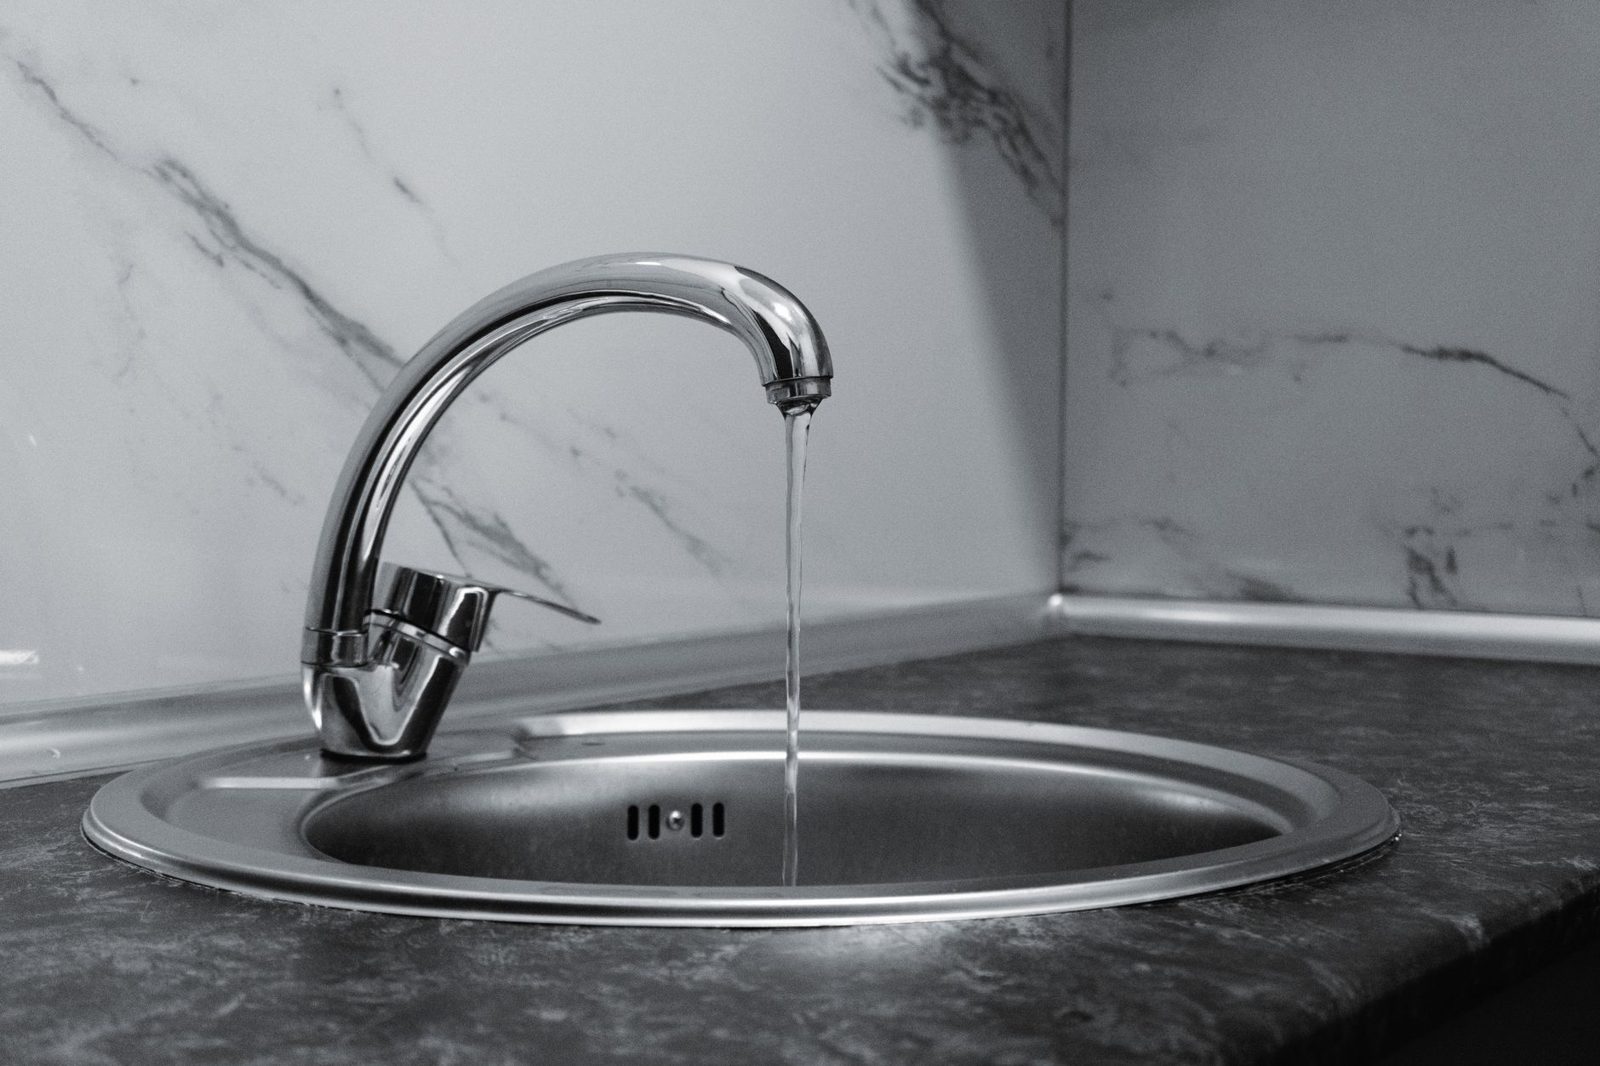
Turn on the new kitchen faucet, then open the cabinet beneath it. A finished countertop cannot tell you whether a connection drips when water runs. That small test sets the tone for the final walkthrough: operate what has been installed, record what still needs attention, and check the relevant project records before agreeing the remodel is closed.
Know which checks belong to you
Your walkthrough answers a practical question: does the kitchen work and look as the agreed project scope says it should? You can run a faucet, open a drawer and point out a chipped finish. An official inspection answers a different question and, where permits apply, must be confirmed through the project team and the permitting authority for your property. One does not replace the other.
For kitchen remodeling in Los Angeles and nearby communities, the required permits and inspections depend on the work performed and the property’s jurisdiction. A home in the City of Los Angeles, Calabasas or Thousand Oaks should not be assumed to follow the same review process. Ask which authority handled your property, whether this scope involved permits, and which inspection results or approvals apply; do not treat a finished-looking room as evidence that any required review is complete.
Planning a kitchen remodel? Explore kitchen remodeling →
Make the kitchen demonstrate that it works
Start at the sink. Run hot and cold water, check drainage, and look under the cabinet while the water is running and again afterward. If a disposal or water-filter system was included, ask for it to be operated and shown to you. Test any newly installed lighting, switches and outlets in a safe, ordinary way. If something needs a particular startup sequence, have the team demonstrate it rather than guessing.
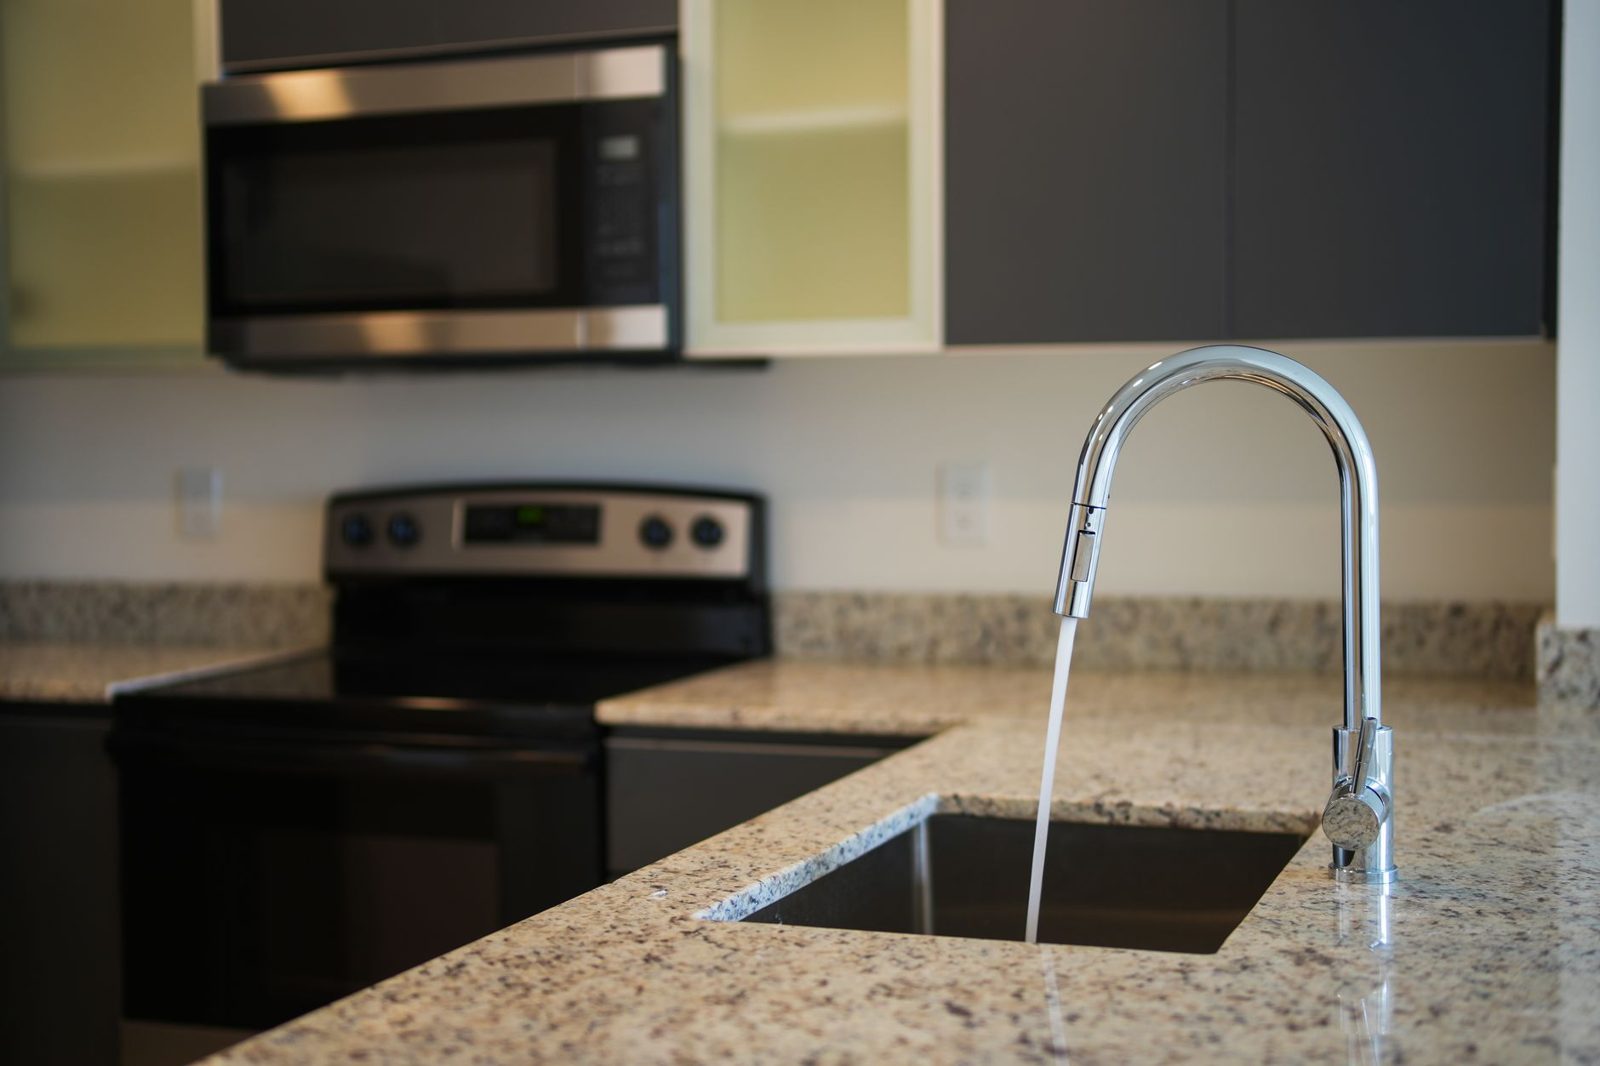
Move through the installed appliances one at a time: confirm that the refrigerator cools, the dishwasher starts and drains, and the range, oven and ventilation operate as appropriate to the equipment. You need not run a full meal or a long wash cycle during the walkthrough; note what you actually tested, what the team demonstrated, and what still needs a later check. For gas equipment or an unfamiliar electrical issue, leave troubleshooting to the appropriate qualified project personnel.
Open every cabinet door and drawer, check that hardware is secure, and watch for rubbing, uneven gaps or a pullout that catches. Then inspect countertops, backsplash, cabinet faces, trim and paint in normal room light. A small chip is a finish defect; a missing cabinet panel is outstanding work; a faucet that will not shut off is a functional problem. Naming the difference makes it easier to agree on the right correction. If an appliance is not connected yet or a part has not arrived, record it as untested or incomplete rather than checking it off.
Want to see completed kitchen spaces? See kitchen projects →
Put corrections where everyone can see the outcome
Take a photo where it helps, but pair it with a written description. “Fix the cabinet” leaves room for disagreement; a location and expected result make the follow-up test clear. For example:
Correction entry: Sink-base cabinet, right rear corner — moisture appears after faucet runs; identify and correct the source, then demonstrate a dry cabinet during a repeat test. Follow-up contact: AP Remodeling project manager, to confirm the person addressing it. Status: open; recheck date to be agreed.

Use the agreed kitchen-remodeling scope and any written changes as your reference. That helps distinguish something promised but not installed from a new request made at the walkthrough. Record finish defects with the same specificity—“chip at the left edge of the island countertop; repair and review the finished surface”—without treating every item as an identical kind of problem.
Recheck the fix, not just the status
Once an item is marked addressed, return to the same location and repeat the relevant test. Run the faucet again after a leak repair; open the drawer after an adjustment; look at a repaired finish in the room’s usual light. If a correction does not match the agreed scope or written change, keep the question open until you and the team clarify the expected outcome.
At AP Remodeling, our coordinated design-build team brings project managers, craftsmen and designers into the same project. That gives you a practical point of contact when a correction spans trades or a finish detail needs clarification. Ask your project manager who will maintain the written correction record, who is responsible for each follow-up, and how you will confirm completion; the important thing is to agree on those details for your project rather than assume a particular tracking procedure.
Want to see how coordinated design-build work comes together? Explore design-build projects →
Collect the records that make closeout clear
Before treating the work as complete, request the appliance and product manuals, applicable warranties and records of agreed changes. Ask the team to identify any outstanding work, who will follow up and when you can check it. Keep the documents alongside your correction record so a future service question does not depend on memory.
If your remodel involved permits, request the permit numbers and the applicable recorded inspection results or final-approval documentation. Ask which items, if any, remain pending. The kitchen remodeling team can help identify the records connected to its work, but the permitting authority for your particular property is the source for authoritative permit and inspection status. Agree on any remaining follow-up with our team, then confirm the relevant status with that authority before you consider the handover complete.